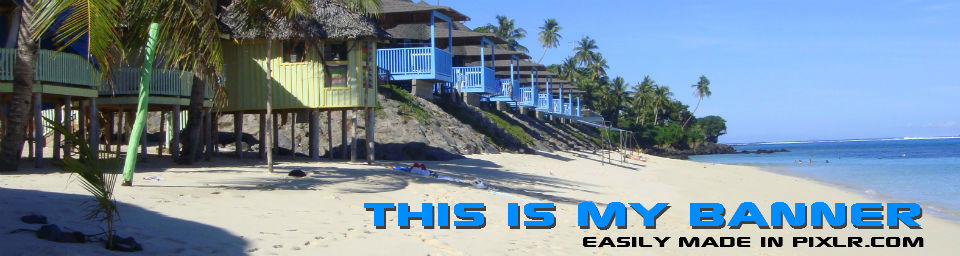
Add Text To Your Banner
This is an easy step by step tutorial on how to create a banner using images from your camera or on your computer. Usually images from your camera are off a very large resolution and pixel dimension, we understand that our customers have trouble trying to resize and insert images from their camera into a website.
This tutorial will attempt to provide an easy online solution using a website called pixlr who offer a great image editor for free!
1st thing you will want to do is open the pixlr online editor, do that by going to here http://pixlr.com/editor/
| You should see this website: | 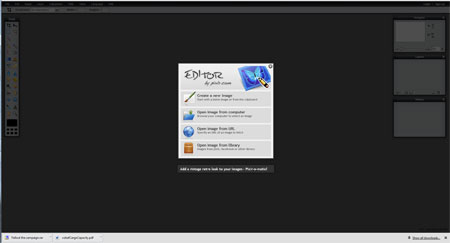 |
| From the dialog box choose "Open image from computer" and navigate to where ever the image is on your PC and upload. | 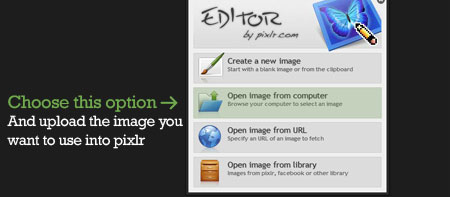 |
| You will now see your image uploaded into the editor, now for the sake of this tutorial we are going to make a banner thats 960 pixels wide, first we will check the pixel size of your newly uploaded image. | 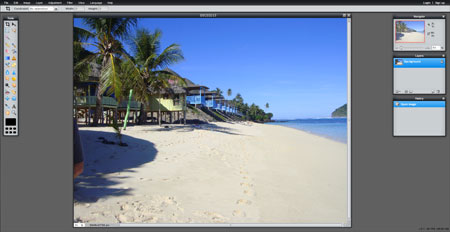 |
| Up in the menu bar you will see a button called "Image" if you click on that you will open a box that will tell you the exact size of the image you have just uploaded. this one is telling me my image is 3648pixels wide by 2736 pixels high, which is far too big for our website! click on cancel for now and we'll come back to it later | 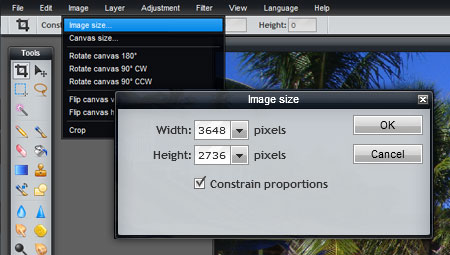 |
| Over on the left you will see a tool box, select the "Crop Tool" you will notice your cursor change when you hover over your image like image on the right. | 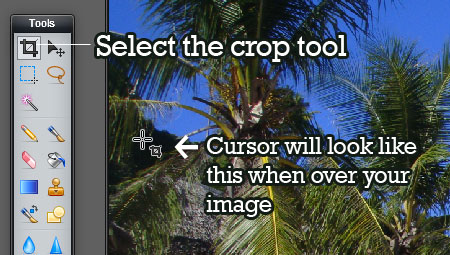 |
|
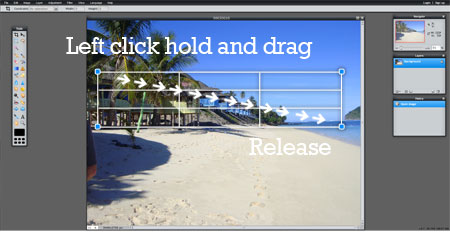
Now the fun part, left click and hold down the button from the left hand side of your image and drag the mouse right and down, you will see white lines indicating the crop area so you can visulize what part of the image will be in the banner. You want to keep it similar as the diagram on the right and and not make it too high as it wont really work as a banner on a website. You can fine tune your selection by clicking and dragging any of the four blue boxes on each of the corners of the white outlines |
 |
|
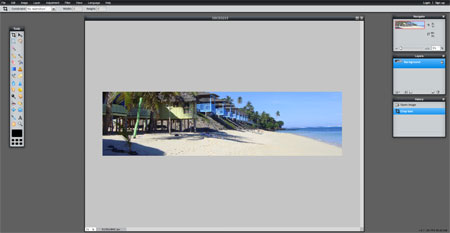
When you are happy with the position of your crop lines simply double click inside the white lines somewhere to action the crop... and voila! Now if you are not happy with the crop you can press CTRL + Z at the same time or click undo from under edit in the menu bar. Nearly there! |
 |
|
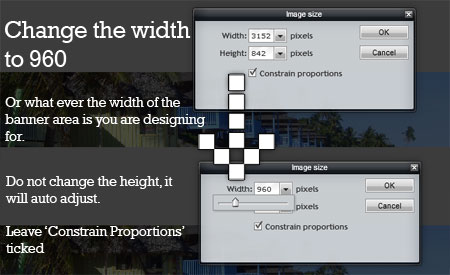
Your new banner size is still large, you need to reduce the size to 960pixels wide for it to fit in your webpage correctly. In the menu bar click on "Image" and then "Image Size" as you had done earlier. In the dialog box where it says width, change it to 960, do not change the width as this will auto change if you have "Constrain Proportions" ticked (recommended) The image will then resize and probably appear much smaller than you imagined, no worries, click "file" in the menu bar and click "save" and save your new banner. |
 |
| Im going to put this banner in the "Page Banner" area, you can access that when logged in by clicking on the rename area of any page (Aa) and browsing to your new banner from the "Page banner/image" option, save and publish | 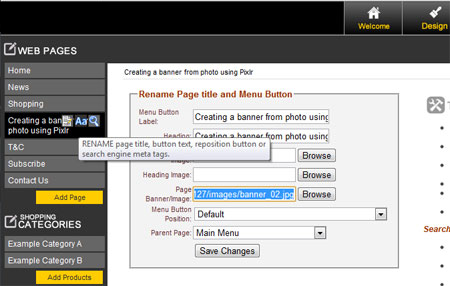 |
| And thats it, next ill show you how to add text to your banner. | 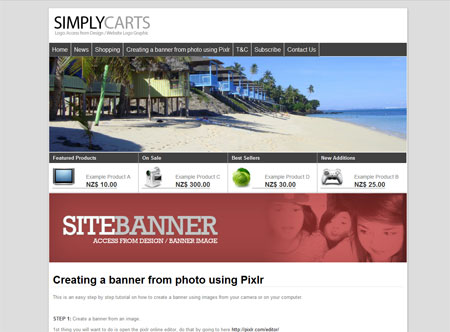 |
|
© Copyright The Contact Grunge Industrial
- Site map
|
Mob:021 XXX XXX
